Enterprise
In this tutorial, let’s see how to configure Hal9 within the Enterprise environment. If you prefer walkthrough video describing the main concepts and installation steps we recorded this video for you. Otherwise, keep reading along.
After signing up for Hal9’s Enterprise Plan at hal9.com/plans, you will gain access to the installation page that contains instructions to install Hal9.
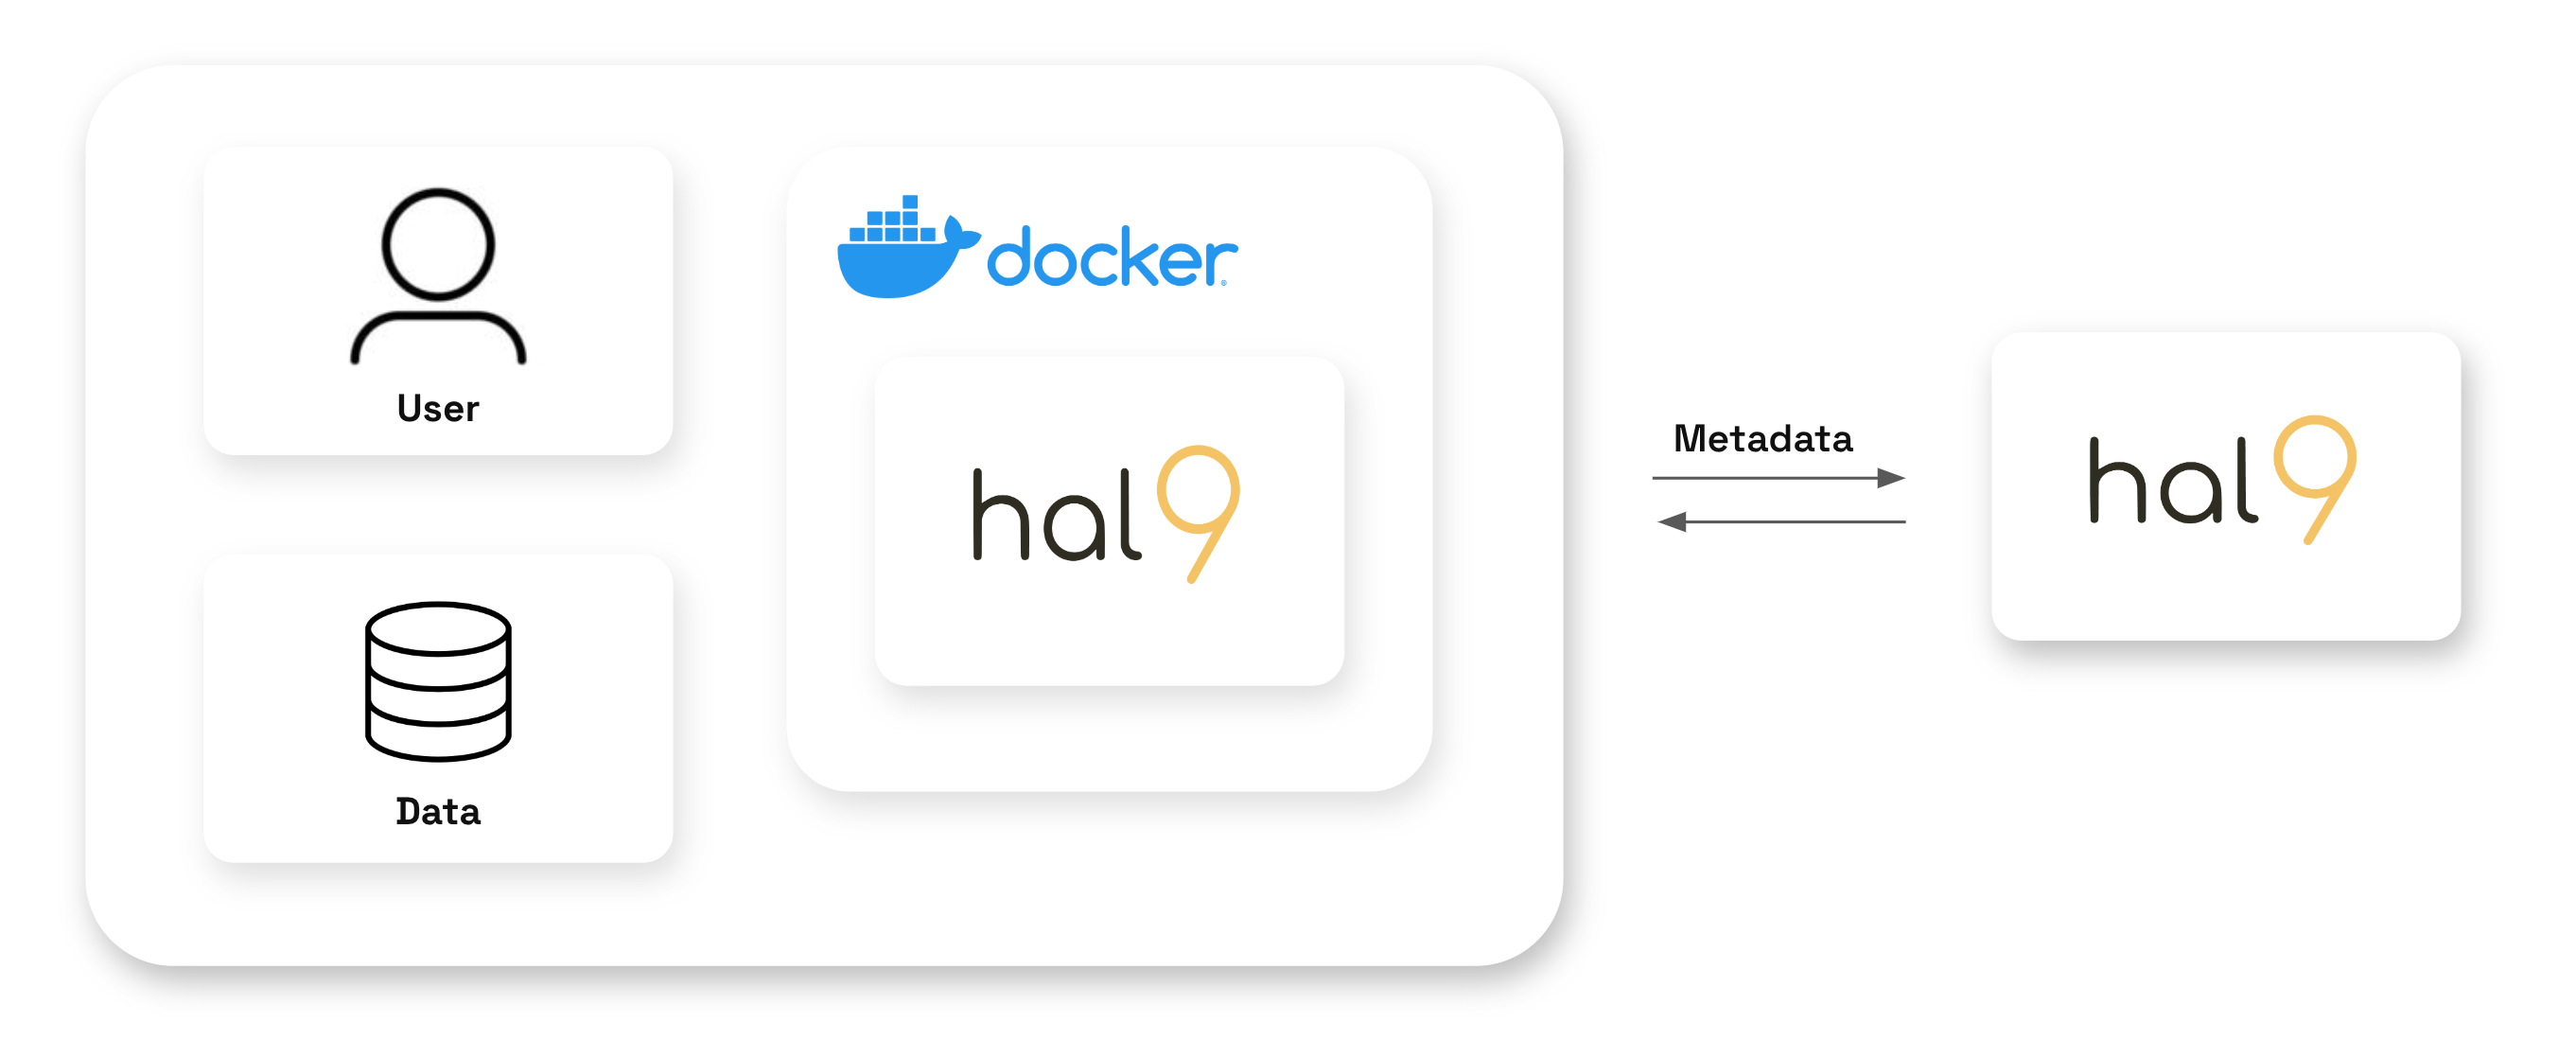
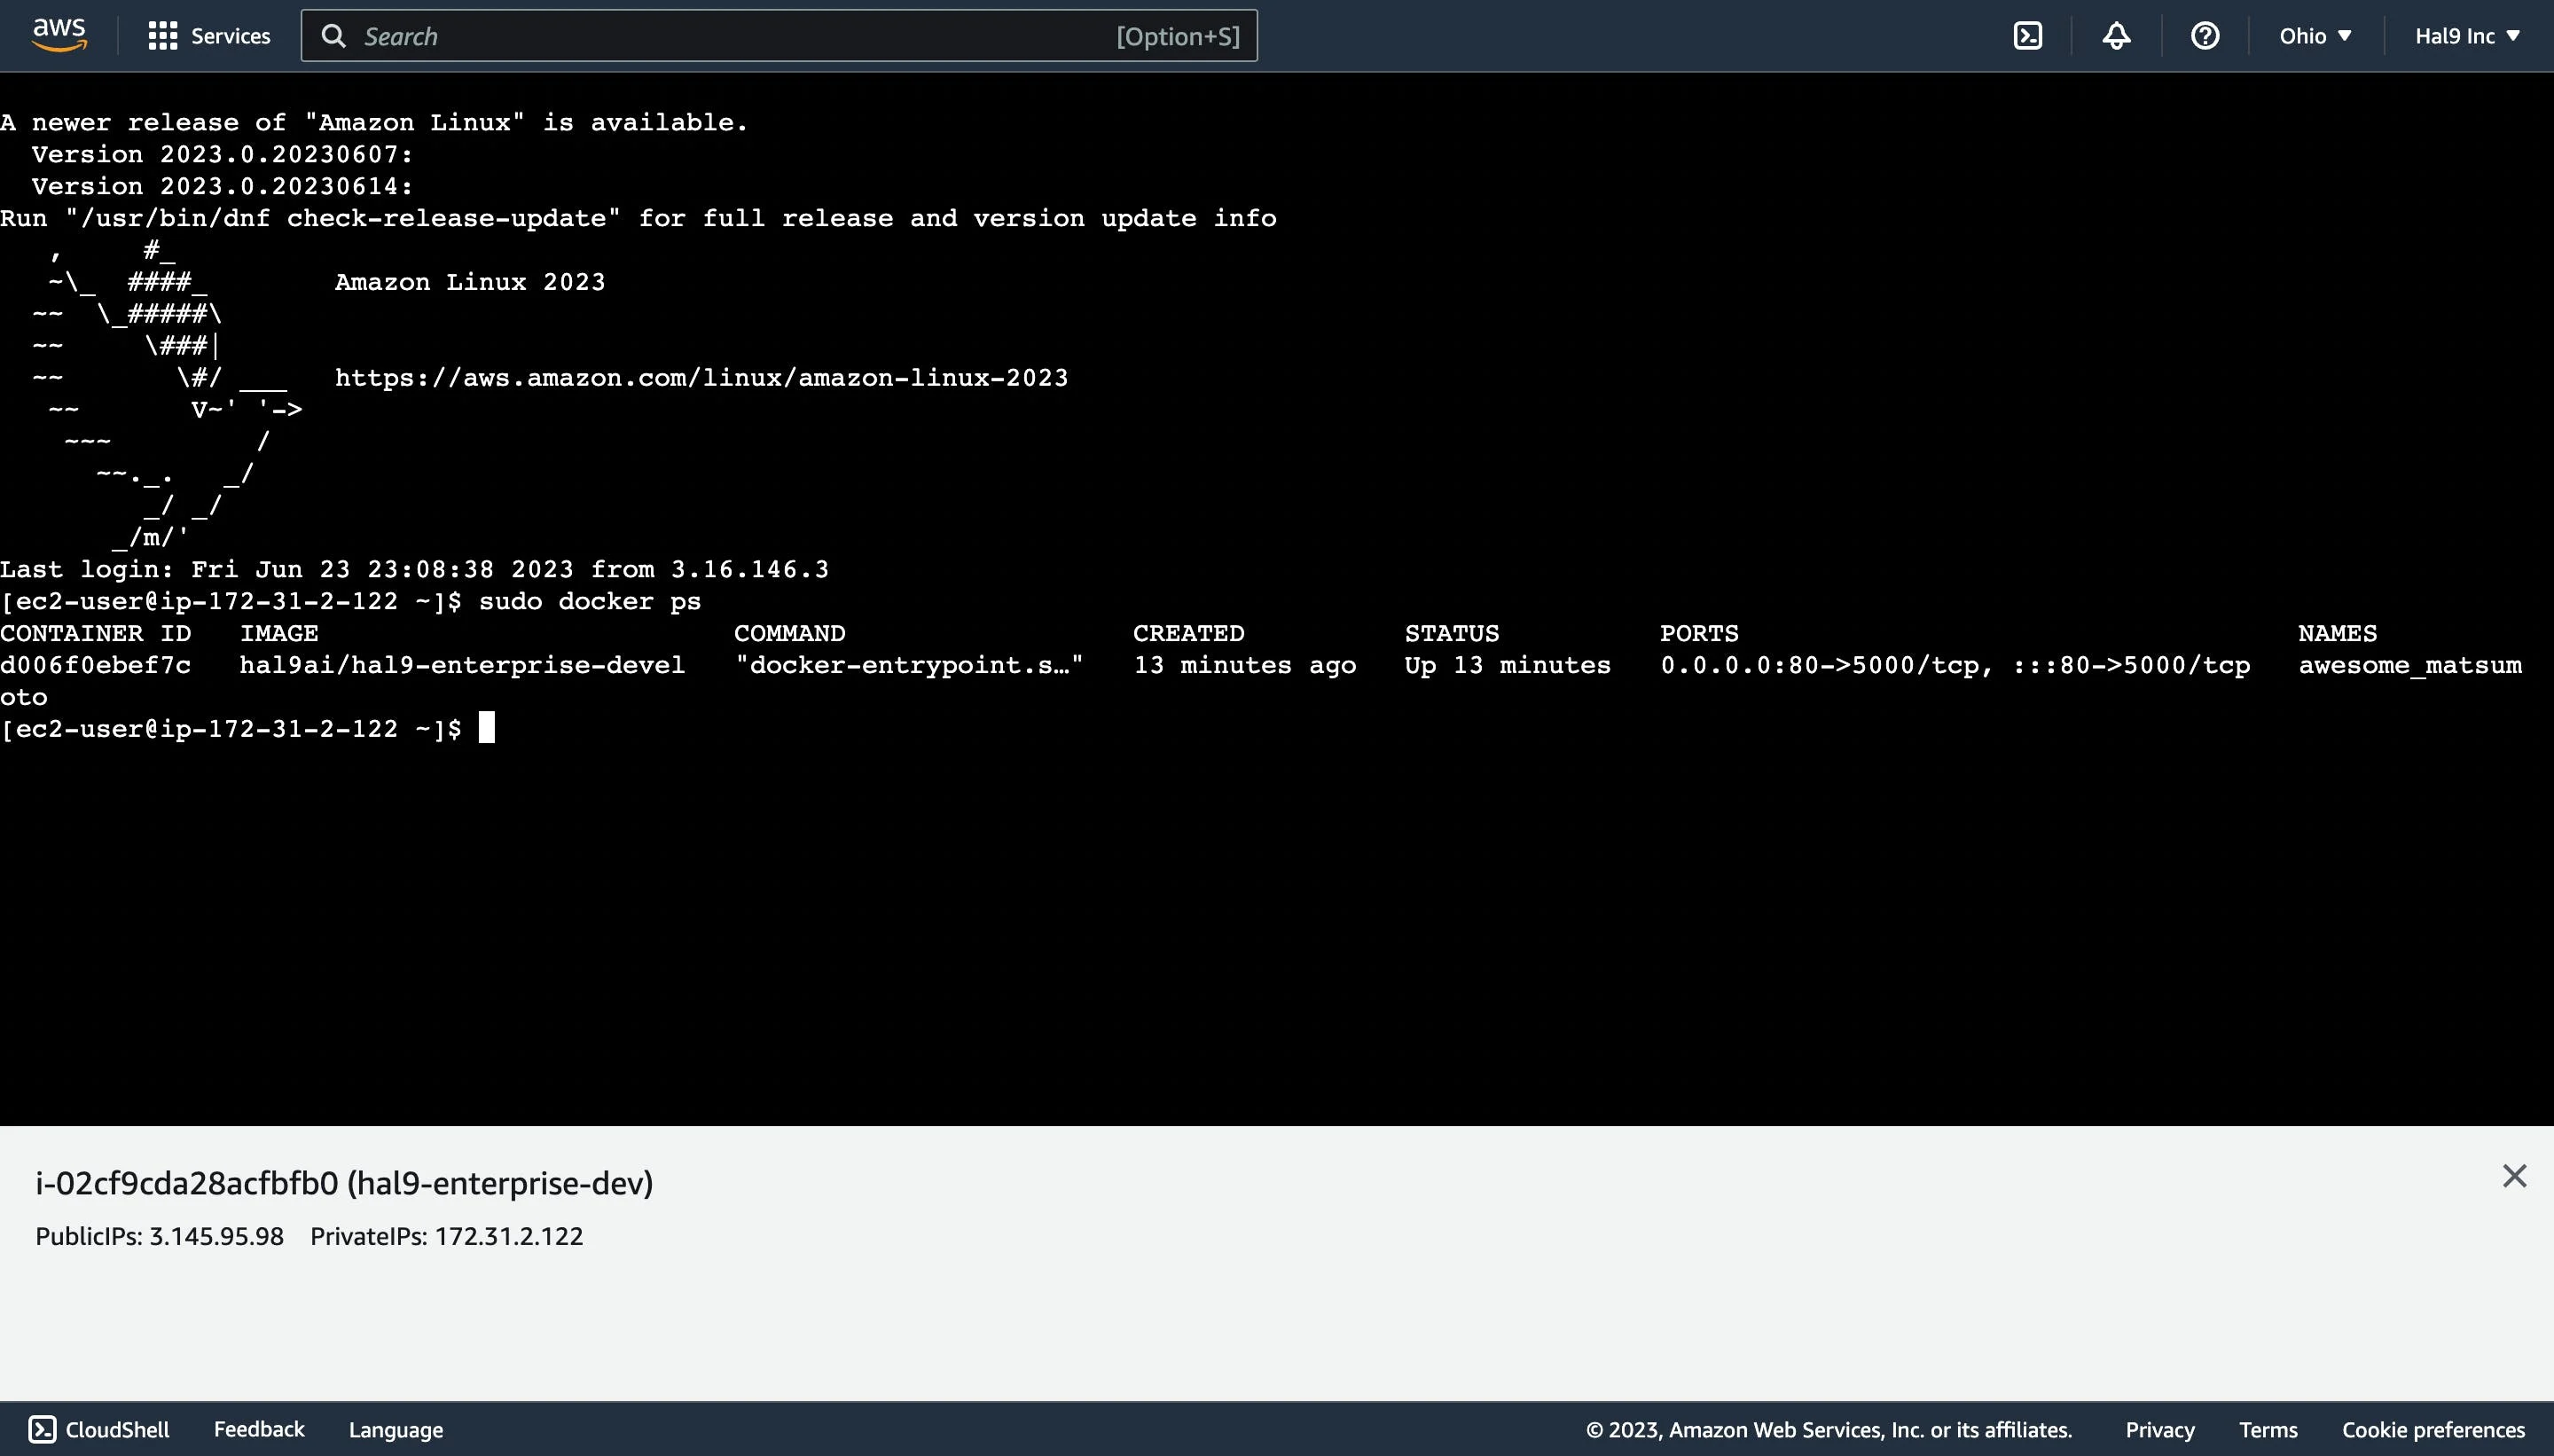
In the installation page you will find the resources that your technical team needs to install Hal9 within your own servers. Your team will be familiar with the commands we provide to pull, build and run Hal9’s Docker image. We will also provide a URL with an administrator key to login to and configure Hal9.
Configuration
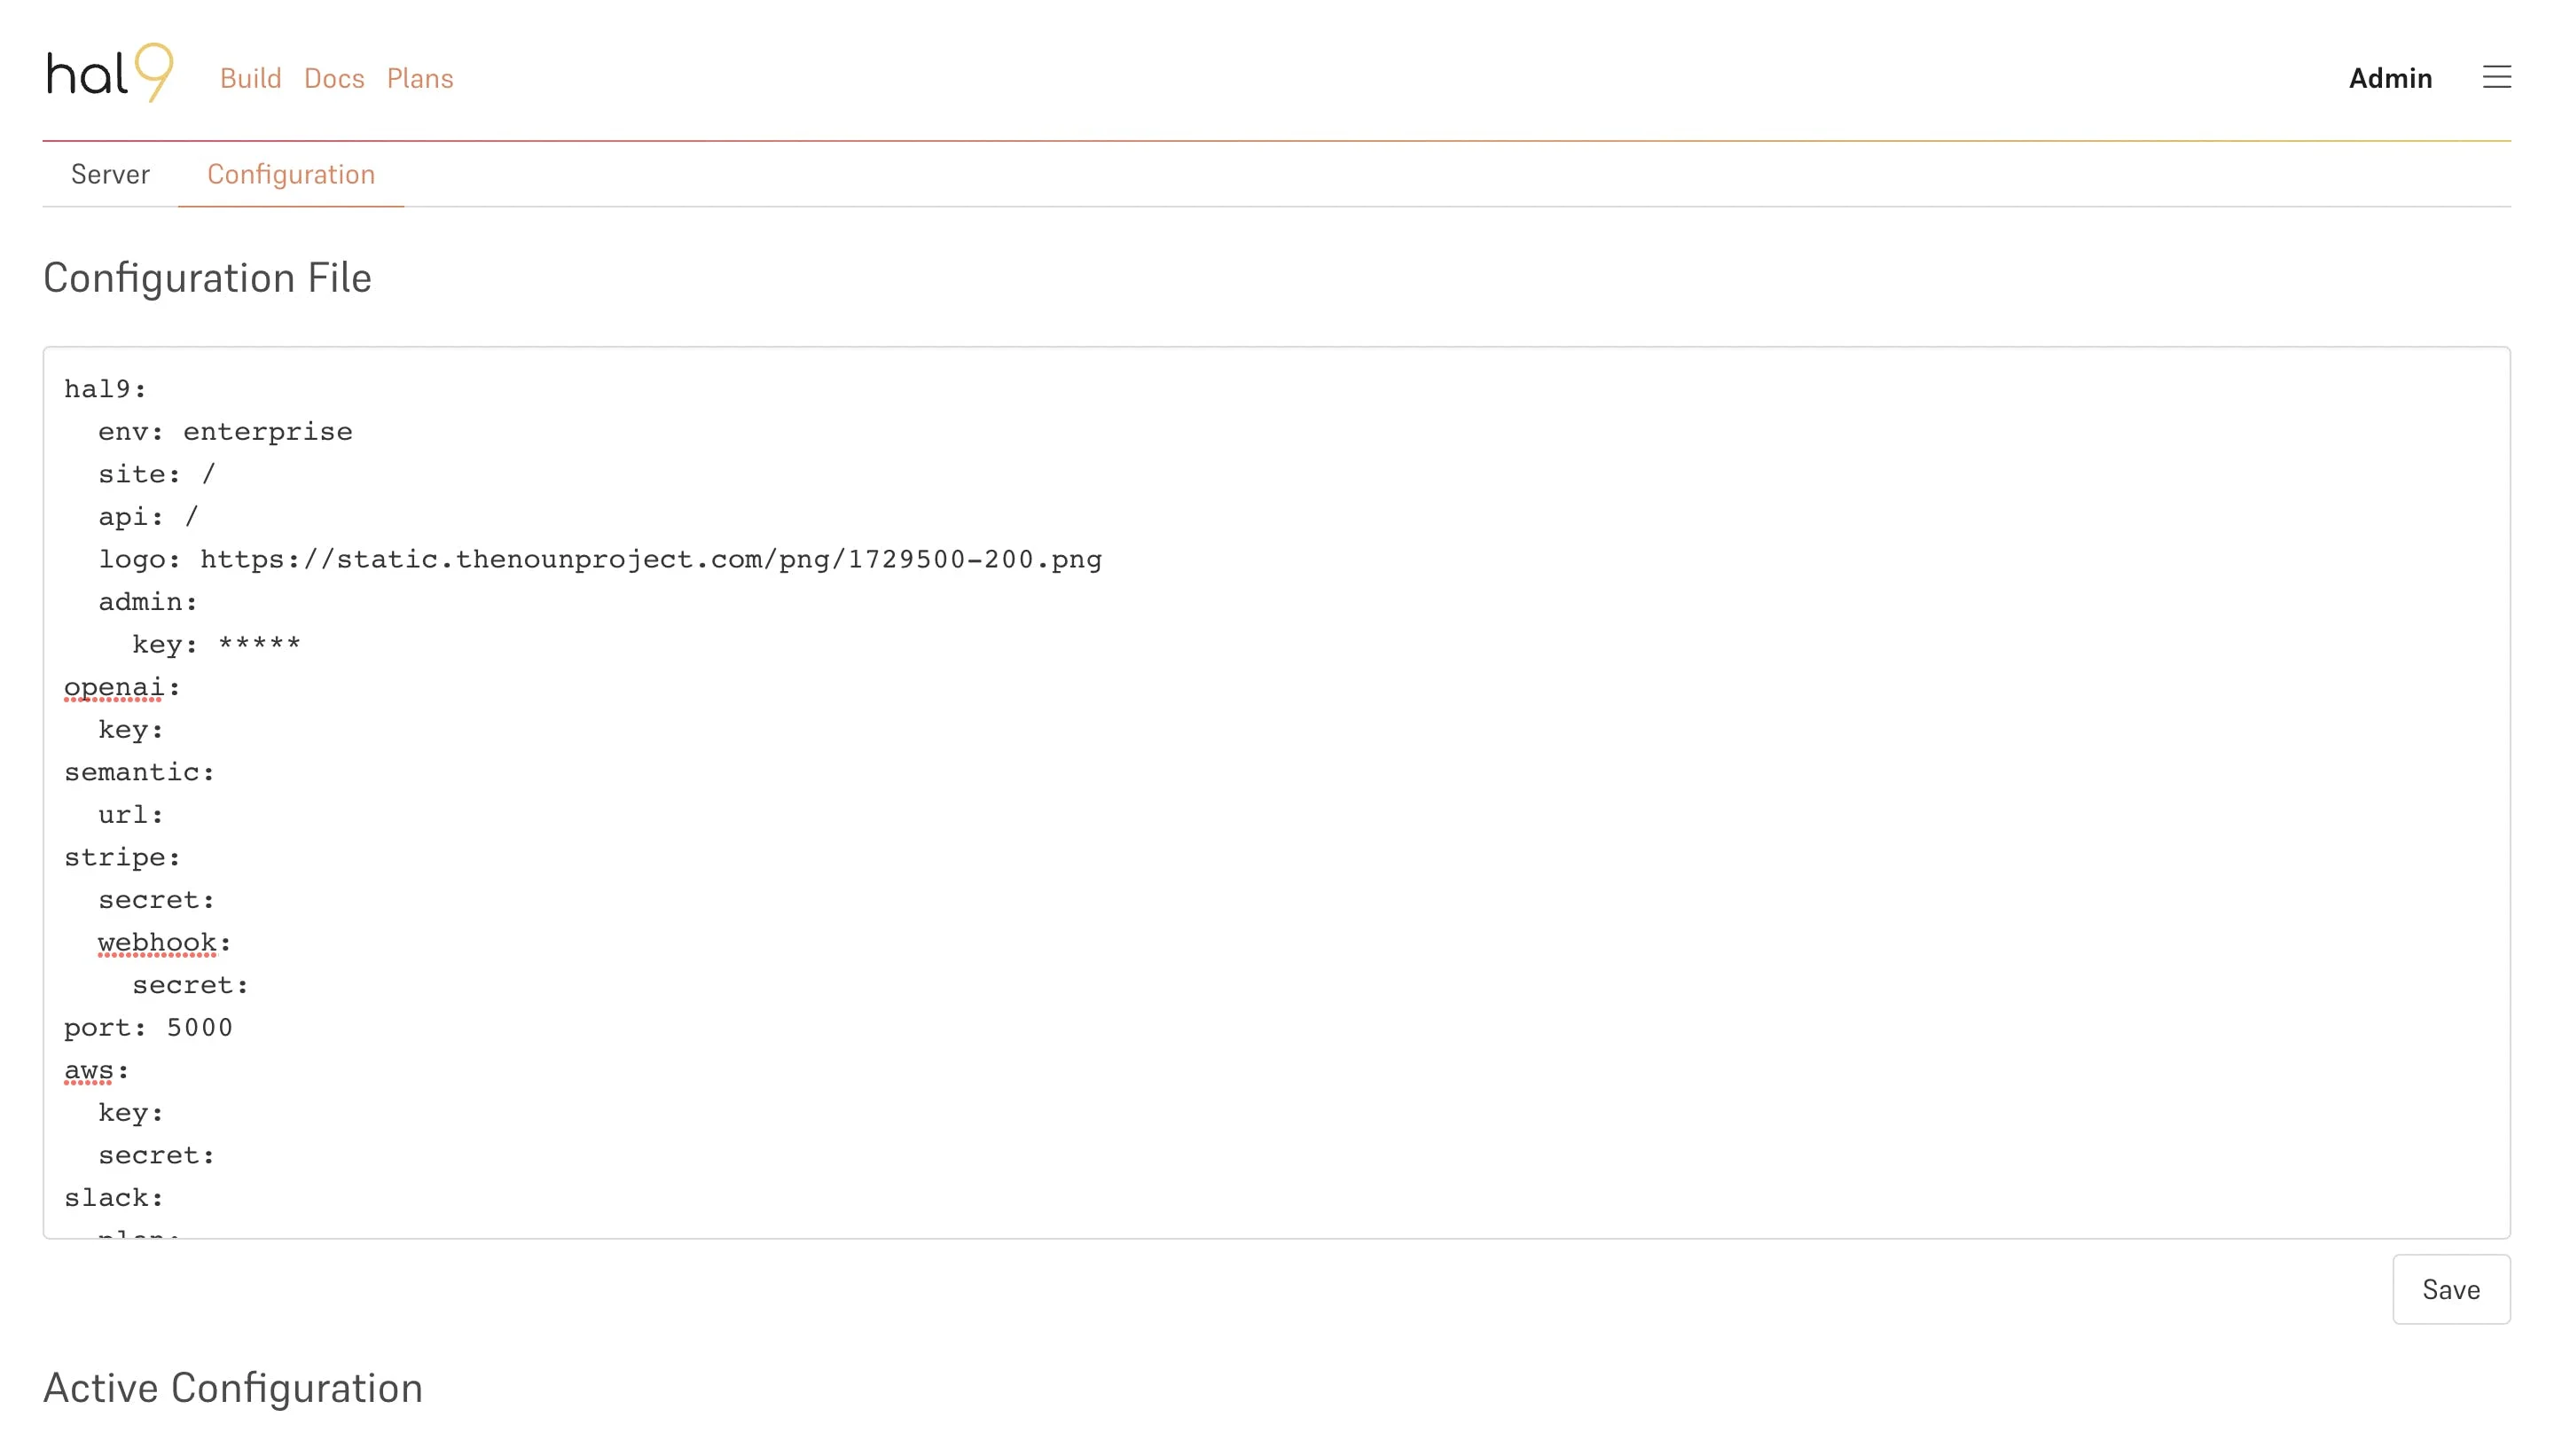
Once the Hal9 Docker image is installed, you can use the provided administrator key to login to the admin console to view, monitor and configure settings across the system. Our team can assist during this process or provide additional technical resources for your team.
We partnered with Auth0 to support many authentication providers like Active Directory, OpenID and SAML; the full list is available in Auth0’s provider list. You can also configure cloud storage accounts and some of the product aesthetics, like the logo image. Once configured, you can use all the functionality available in hal9.com, but in your own infrastructure.
Security
We protect customer data in the client enforcing the Content Security Policy (CSP) header.
Content-Security-Policy: default-src 'self';You can further protect the server by preventing any data leaving the instance hosting Hal9’s docker image.
apt-get update
apt-get install iptables -y

iptables -A OUTPUT -p tcp -d exception.com --dport 80 -j ACCEPT
iptables -A OUTPUT -j DROP